Make the parts familiar first
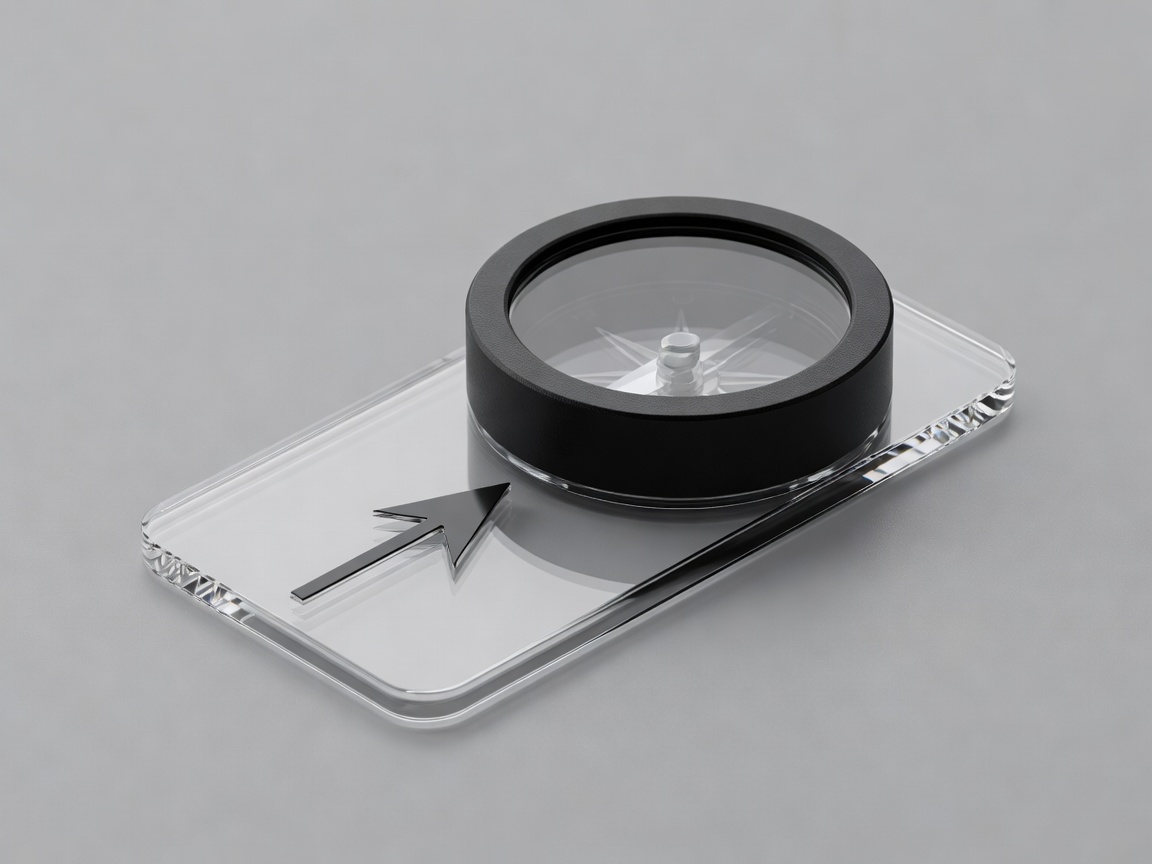
For a conventional baseplate compass, identify the direction-of-travel arrow, rotating housing, index line, orienting lines and the north-seeking end of the needle. Read the manufacturer’s instructions for the particular model. Some compasses have adjustable declination, different markings or regional balancing requirements. Do not assume the needle’s appearance or the method used on a borrowed instrument is identical to yours.
Practise in an open, familiar place before relying on the compass during a demanding outing. Hold it approximately level and allow the needle to settle. Keep it away from phones, magnetic closures, speakers, vehicles and metal equipment. Move away from possible interference and compare again if the reading changes unexpectedly. A second compass is useful only if it is not exposed to the same interference.
North is not one interchangeable label
True north, grid north and magnetic north describe different references. Their relationship varies with location and, for magnetic north, with time. A map bearing may therefore need a correction before being followed with a magnetic compass. Consult current information appropriate to your map and area; old margin notes can be out of date.
Do not apply a memorised “always add” or “always subtract” slogan without understanding which direction you are converting and which references are involved. The British Geological Survey provides geomagnetic information; other countries have their own authoritative mapping or geomagnetic sources. Agree the correction and method before the outing, then have another person explain it back. If neither person can justify it, arrange instruction rather than improvising in difficult terrain.
Work from a confirmed position
On a suitable map, place the compass edge along the line from your known starting point towards the intended destination, with the direction-of-travel arrow pointing the right way. For the conventional grid-bearing method, rotate the housing so its orienting lines align with the map’s north–south grid lines and its north marking points towards grid north. Read the bearing at the index line and apply the appropriate correction using your agreed method.
This description assumes an ordinary baseplate compass and suitable gridded mapping. It is not a replacement for supervised practice. Check for a reversed compass edge, an upside-down housing alignment or an incorrect start point. Any of these can produce a plausible-looking number that sends the group in the wrong direction. Ask the checker to repeat the process independently before comparing results.
Choose visible, safe intermediate targets
With the corrected bearing set, hold the compass level, away from interference, and turn your body until the north-seeking needle aligns with the housing’s north indication. The direction-of-travel arrow then indicates the intended direction for that setup. Select a visible feature on that line, provided the approach is safe, and move towards it while observing the terrain rather than staring continuously at the instrument.
A bearing is not an instruction to walk straight through every obstacle. Cliffs, water, vegetation, access restrictions and unstable ground still determine what is possible. If the route requires a substantial deviation, stop and make a deliberate navigation plan from a confirmed position. Techniques for poor visibility or complex detours require practice and judgment; reading a short description is not proof of readiness.
Compare methods before comparing numbers
Give two people the same confirmed start and destination without announcing the expected answer. Each takes a reading separately, then explains how it was obtained. Independence matters: repeating the lead navigator’s number can reproduce the same error while creating false reassurance. If the readings differ, check the start point, north reference, correction, housing alignment and nearby interference.
Do not invent a universal tolerance for disagreement. The consequence of an error depends on leg length, visibility and the surrounding hazards. Even a seemingly small angular error can matter over distance. Compare the proposed direction with the shape of the ground and the route plan. A neat pair of matching readings does not outweigh a ridge or valley that clearly contradicts your interpretation.
Practise where mistakes remain manageable
Use short exercises in familiar, low-consequence terrain, with appropriate supervision if the group is learning. Set a destination, take separate bearings, identify an intermediate target and discuss what happened. Rotate roles so everyone experiences both leading and challenging a decision. Add complexity gradually rather than using a remote expedition as the first test.
Keep paper mapping and compass skills alongside digital navigation, not in competition with it. A phone can provide valuable information, but battery failure, damaged screens and poor preparation are possible. A compass also has limitations. Reliable group navigation comes from several understood sources of evidence, current conditions and the willingness to stop when they no longer agree.