Check the scale, legend and coverage
Begin with the information at the edge of the map. Identify its publisher, edition, scale, contour interval and north references. Check whether the whole route and its alternatives are covered. A map that stops at the planned destination leaves little room for a changed descent or an unexpected diversion. Protect paper mapping against rain and make sure it remains readable when folded for use.
At 1:25,000 scale, one centimetre represents 250 metres on the ground; at 1:50,000, it represents 500 metres. Those relationships concern horizontal distance, not the effort of crossing slopes. A phone’s zoom level can change continuously, so use the displayed scale bar rather than estimating distance from screen size. Printouts must retain their intended scale or be interpreted using an accurate scale bar.
See slopes before searching for paths
Contour lines join points of equal elevation. Closely spaced contours generally indicate steeper ground; wider spacing generally indicates gentler ground. Read labelled heights and the map’s contour interval before judging the amount of ascent. Trace the shape of ridges, valleys and saddles, then ask how that shape should appear from your expected position.
Do not rely on a memorised symbol pattern without context. A bend in contours may describe a valley or a spur depending on the direction in which the ground rises. Follow the larger landform and compare nearby heights. Small cliffs, gullies or rough surfaces may be significant even when they are difficult to represent at the chosen scale. A map simplifies terrain; it does not remove its complexity.
Use the legend, not a universal guess
The marks above are illustrative, not official cartographic symbols.
A marked path may be faint, obstructed or absent on the day. A visible track may lead away from your intended route. Access markings also require careful interpretation: the appearance of a line does not automatically confer permission to use it. Consult the publisher’s legend and relevant access guidance instead of transferring assumptions from a different map series or country.
Orient, predict and confirm
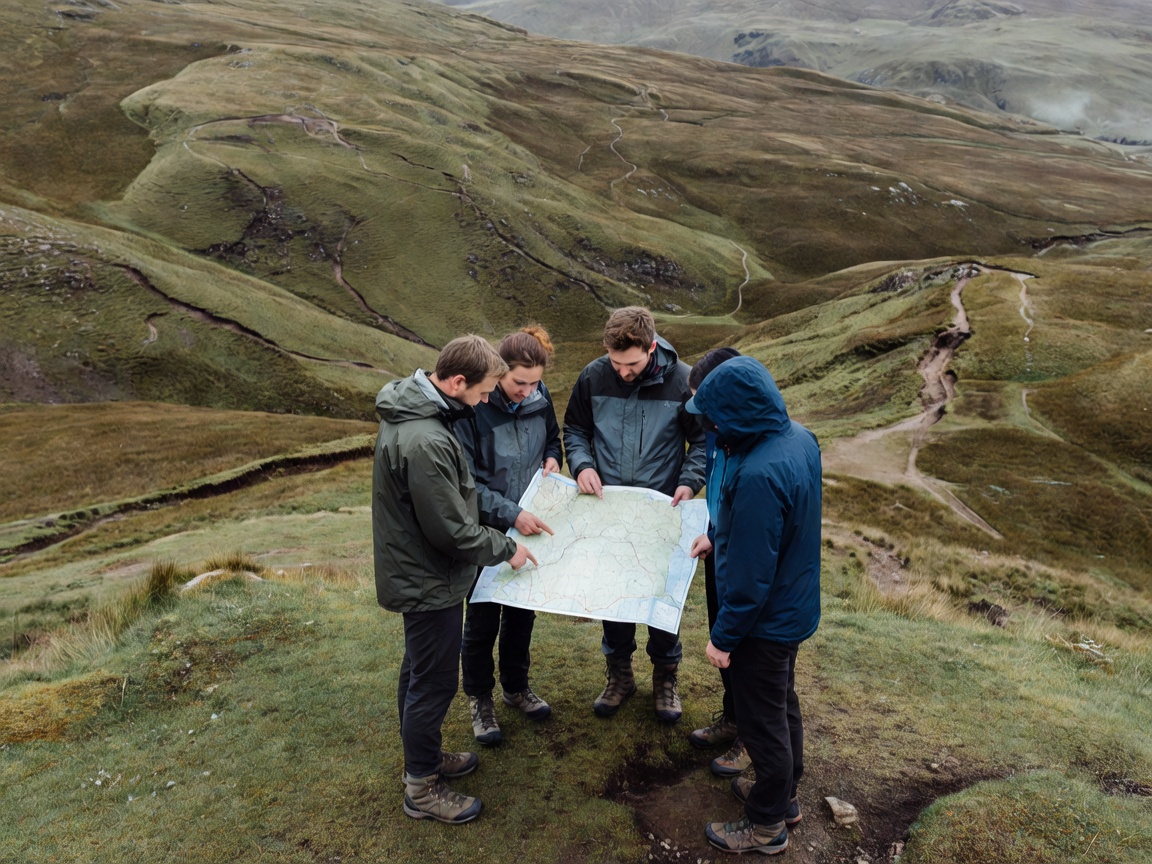
Orient the map so its directions correspond with the landscape, using reliable features or a compass with the appropriate north-reference correction. Keep track of which way the group is facing rather than rotating your interpretation to fit a preferred answer. Point out several features and invite another person to identify them independently.
Before each leg, predict what should happen next. The path may curve towards a stream while the hillside rises on the right. During the leg, compare those expectations with reality. This continuous conversation is more useful than walking for a long interval and then asking the map to explain an unfamiliar scene. A mismatch should reduce confidence promptly, not become an inconvenience to explain away.
Make references unambiguous
On a suitable gridded map, learn the relevant reference system and practise reading eastings before northings. With the British National Grid, include the correct grid-square letters when a full reference is needed. More digits imply greater precision, not necessarily greater accuracy. Do not report a precise reference if your actual location remains uncertain.
Digital devices may use latitude and longitude, another grid or a configurable datum. Two people can appear to disagree simply because their formats differ. State the coordinate system and format, then read the reference back. In an emergency, follow the receiving service’s instructions and explain uncertainty clearly. A location-sharing application can help, but it does not eliminate the need to understand or communicate where you are.
Pause before uncertainty compounds
When the map no longer fits, stop in a safe location, keep the group together and identify the last position you genuinely confirmed. Separate observations from guesses. “We crossed one stream after the junction” is evidence; “this must be the next valley” is an interpretation. Review elapsed time, direction of travel and possible alternative positions without forcing them to agree.
If safe relocation is beyond the group’s ability, protect yourselves from exposure and seek appropriate assistance. Do not split up to search for confirming features or move towards hazards for a better view. Practise relocation and map-to-ground comparisons in benign, familiar terrain with suitable instruction before depending on them in remote or poor-visibility conditions.